Showing posts with label seasonal flowers. Show all posts

Friday, April 29, 2016

Perennials for the Farmer/Florists Garden

Black Knight Butterfly Bush, Cone flower, Knockout roses,  and Prairie Sun.
 Today's bouquets are all about what's in season RIGHT NOW. Whether you're designing with your own flowers or, sourcing blooms locally it's all about finding and using things that are unique to your area, and more specifically to your garden site. Not sure what you want to plant? Take a visit ( or several, it's still early)  to your local garden center and do a walk about. Talk to the nursery staff and tell them what you're day dreaming about. I like to get my plants in one gallon sizes or larger when I'm planting a new garden boarder with perennials and shrubs.  I just don't have the patience to wait for them to fill out! 

 Here in southern New England there are several perennials that I love to grow and use in my design work.  


 Here a Butterfly Bush blossom is right at home among some old fashioned zinnias.


Below I have Lemon Queen Sunflower ( pictured above) arranged with Black- Eyed Susan and annual sunflowers with grass plumes.


This bucket of late spring flowers is a mix of herbs, perennials and Forsythia shrub branches.


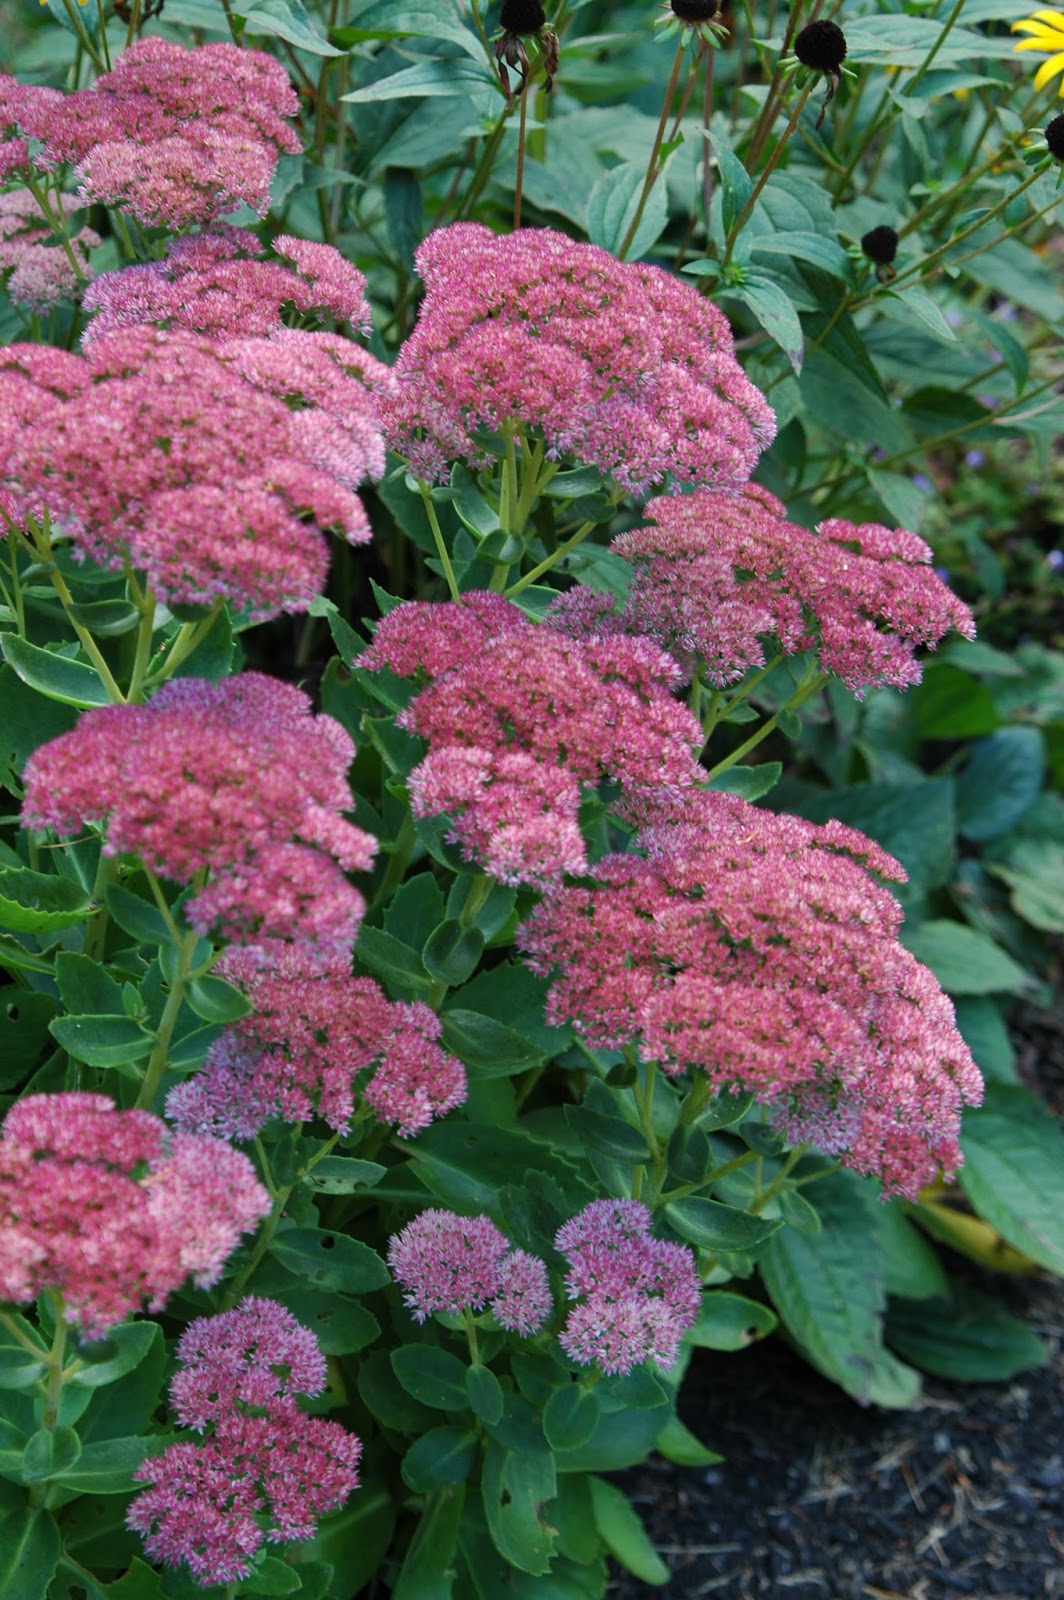
 Sedum and Ornamental Grasses are some of my favorite perennials to grow because you can use them all season long.  Not only do they They add year round interest to the garden but

they add unique colors and textures to the bolder shades and shapes of summer annuals such as Dahlias and Zinnias. 


 The Shasta Daisy is such an early blooming flower that reminds of summer picnics and backyard BBQ's. 

Shasta Daisies
Cone flower
The possibilities are truly endless and that's what makes growing and designing so much fun. You'll never run out of color, textures and fun shapes to work with and just by adding a handful of new plants to the yard will give you new ideas and material to play with.

I hope you'll give these easy care, sun-loving perennials a try and experiment with them in flower arranging too! 

 Here's a little perennial planting tip:
Plant your perennials in groups for masses of color in one or two seasons.
Hint: Instead of planting three plants, plant 5 of the same variety and plant them closer together than recommended. You can always go in and thin them out in a few years and then you can pot some up to share with friends and neighbors too!


Saturday, August 15, 2015

Mason Jar Wedding Centerpieces With MY Local Flowers


Dear friends,  
I feel as if it's been forever since I sat down to say howdy. Life as a mom and writer is busy enough. Toss flower farming into the mix and now we're talking B.U.S.Y. but it's a beautiful busy and I love every minute of it!
We've ( my daughter and I ) been peddling our petals at the local Farmers Market and we just delivered our first wedding order yesterday! 


Today I'm sharing the wedding centerpieces I made for the bride and groom's farm venue wedding.The bride chose a modern/rustic theme for her mason jar centerpieces and wanted to incorporate locally grown flowers into her wedding so we were a perfect fit!
 I love doing arrangements in mason jars because they are so versatile and most flowers look happy in them.
My bride provided the jars and the ribbon and I did the decorating. It only took about an hour to cut the ribbon to size, glue it on and tie on the twine bow at the last. I simply measured the ribbon to fit the center of the jars then cut it to allow a half inch over lap, just enough to add a few drops of Quick Dry Fabric Fusion. This stuff is amazing!!!! It works like a charm. It's truly fast drying and fabulous on fabric.
Once the ribbons were secured on the jars I cut lengths of twine 27 inches long to tie around the center bows. 


 FYI. I found it easier to adorn the jars before adding the flowers. Makes sense doesn't it? Especially if you are doing any gluing or you have to lay the jar down for applying ribbons, beads, burlap, lace, etc.


I always cut flowers early ( before 8:00 am ) before the sun has a chance to start warming them up and place them immediately into clean buckets of fresh water.

Cut flowers for the centerpieces.
I used a mix of seasonal flowers for the centerpieces. All of them came from my backyard except some golden rod still in the bud stage that I foraged from the backyard at our cottage. Thank goodness I did, because I'm low on filler material this year and the wispy stems of the golden rod added just the touch of rustic romance I needed for the finishing touch on the centerpieces.

Cockscomb ( red)
Cafe Au Lait ( dahlia)

I have to say, I think the black and white ribbon is striking with all of the flowers. 
Once the centerpieces were finished I packed them into sturdy cardboard boxes and my daughter and I packed them into the back seat of her Vintage Ford 250 Truck and hit the road. I was calm as a cucumber after the delivery but I woke up very early this morning with butterflies in my stomach worrying about the flowers. Were they too squished in the box? Did any of them wilt in the night? Probably not.They withstand much more abuse sitting in the sun all day at the farmers market and they were only in the truck (not air conditioned ) for an hour before going to an air-conditioned house. Still, I worried but a Facebook comment from my bride this morning settled my nerves. They are fine and right about now they are probably sitting pretty atop her tables at her venue. They've promised to send me photos from the wedding photographer! I promise to share them with you as soon as I get them!


I've been a gardener for 25 years but flower farming takes it to a whole nuther level. I've always dreamed of having a farm...Who knew I would find one in my own backyard?
 

Related Posts Plugin for WordPress, Blogger...